
Since we will be using Raspberry Pi as the control computer for the astronomical photography system, we will install Ubuntu on the Raspberry Pi. The Raspberry Pi is the currently available Raspberry Pi 4 or Raspberry Pi 5 with 4GB or more.
First, in order to install Ubuntu on a microSD card of 32GB or more to be used with Raspberry Pi, download Raspberry Pi Imager for macOS from the following Raspberry Pi web page https://www.raspberrypi.com/software/ and install it on your Mac. Once installed, insert the microSD into a card reader/writer connected to your Mac and start Raspberry Pi Imager.
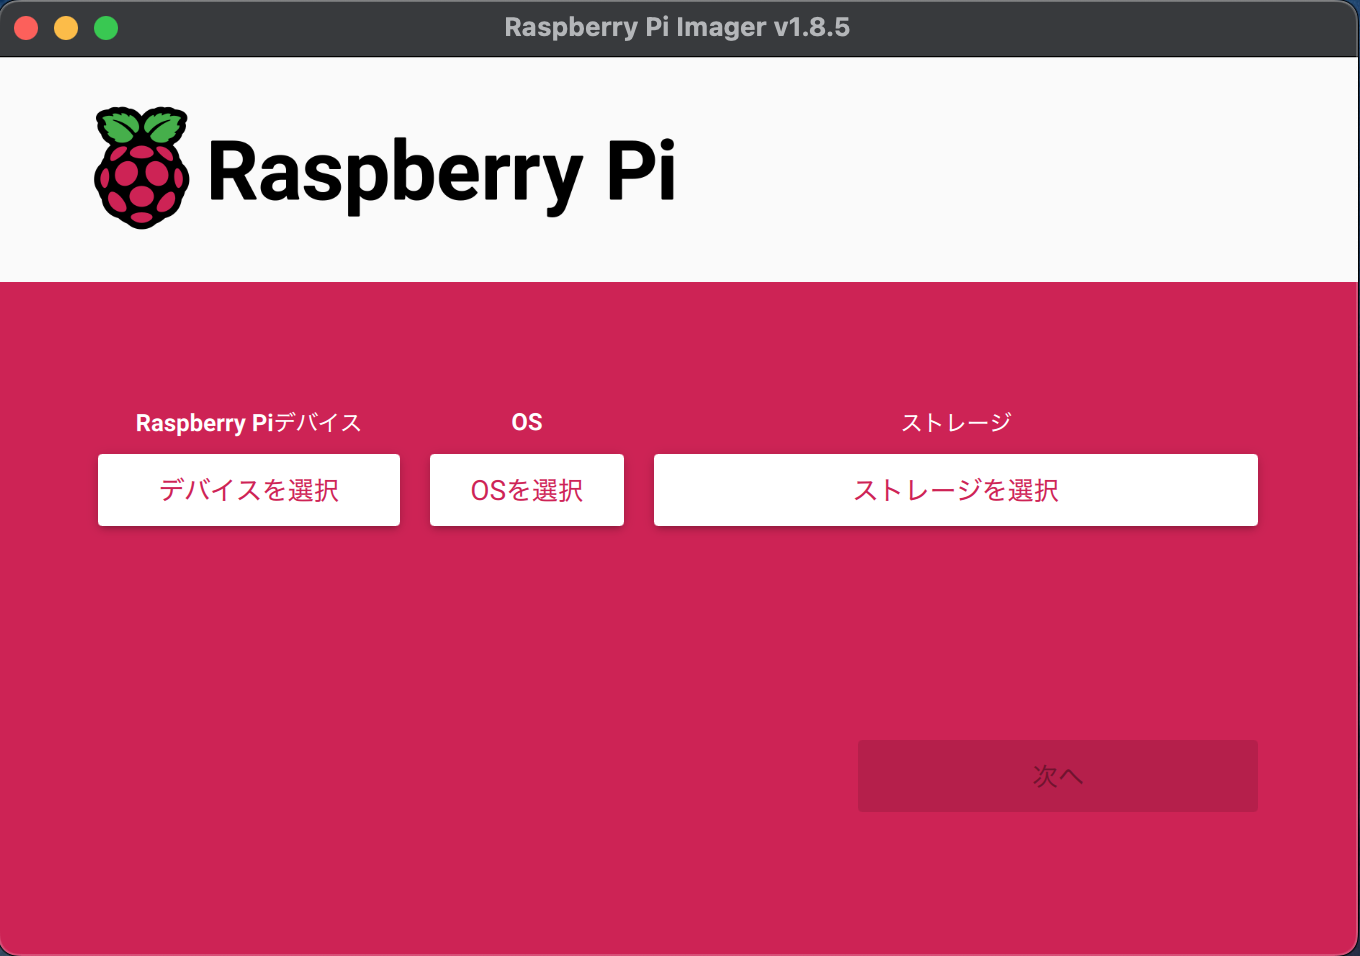
Next, click "Select Device" to select the type of Raspberry Pi.
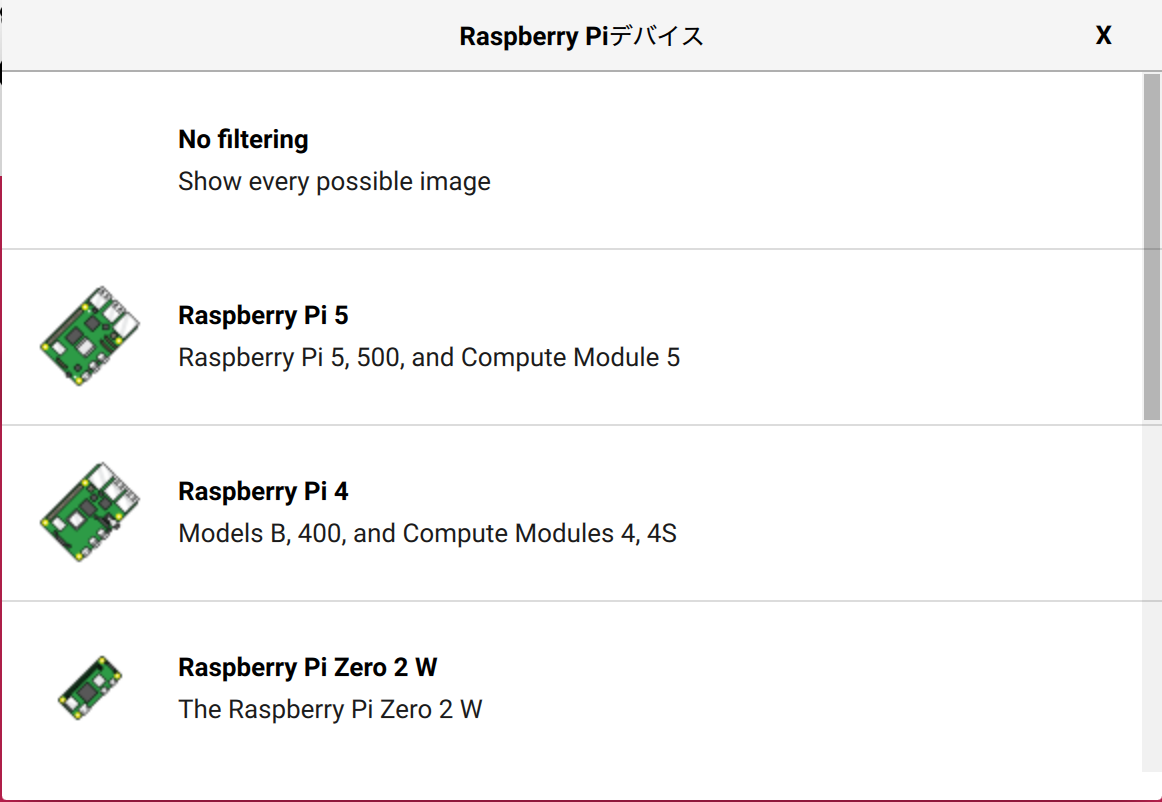
A list of devices will be displayed, so click on the device you want to use. This will return you to the first screen, and the selected device name will be displayed next to the Raspberry Pi device.
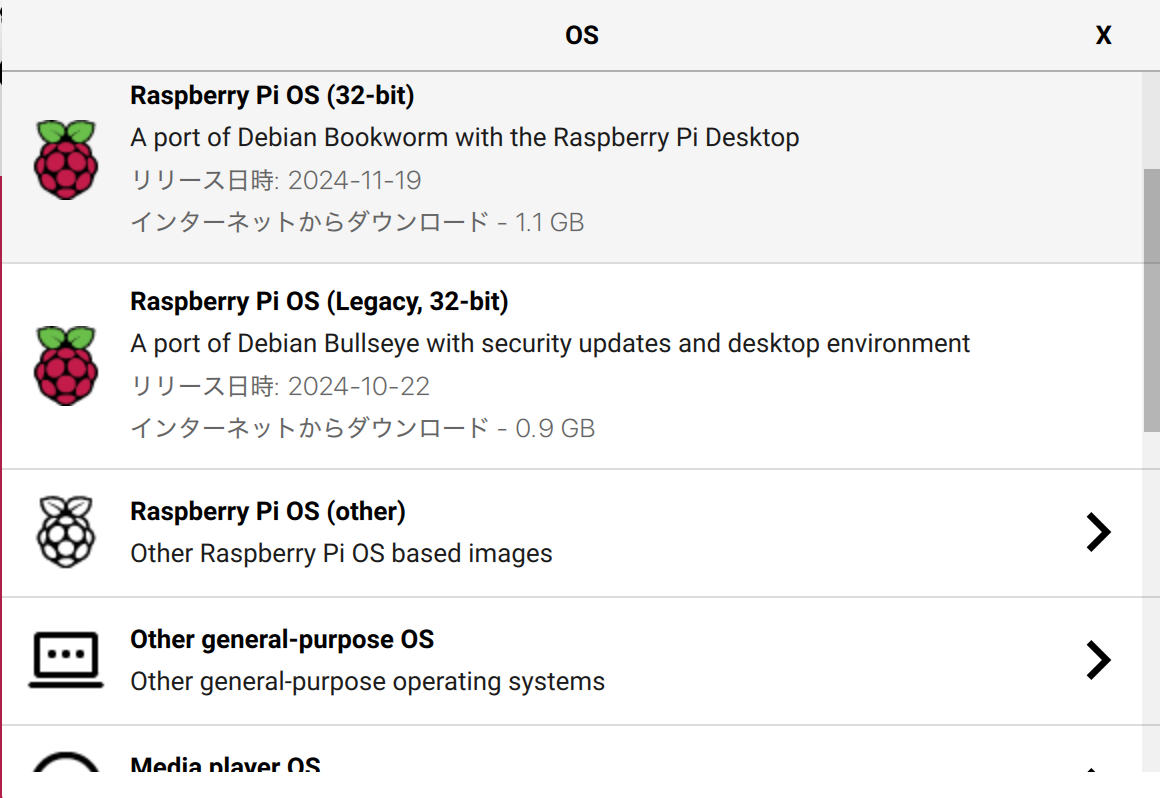
Next, click "Select OS" to select the OS. A list of OS will be displayed, so click "Other general-purpose OS".
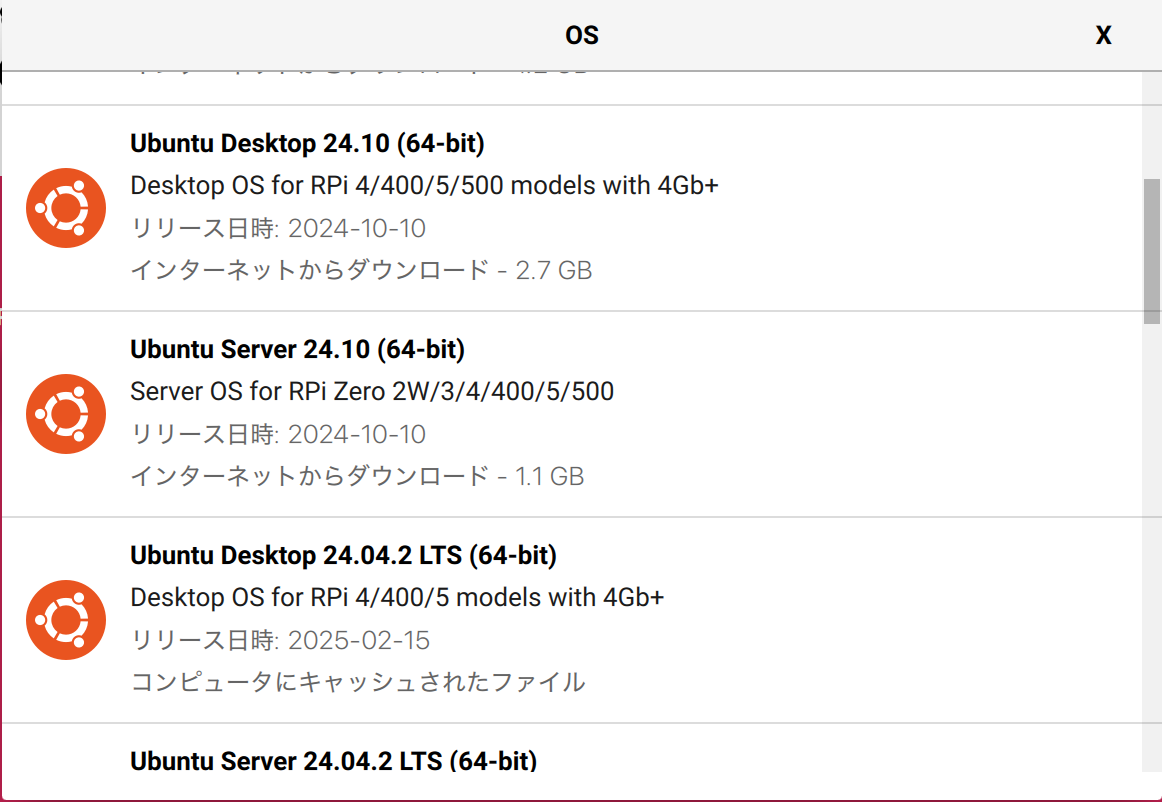
A list of OSes will be displayed, so click on "Ubuntu".
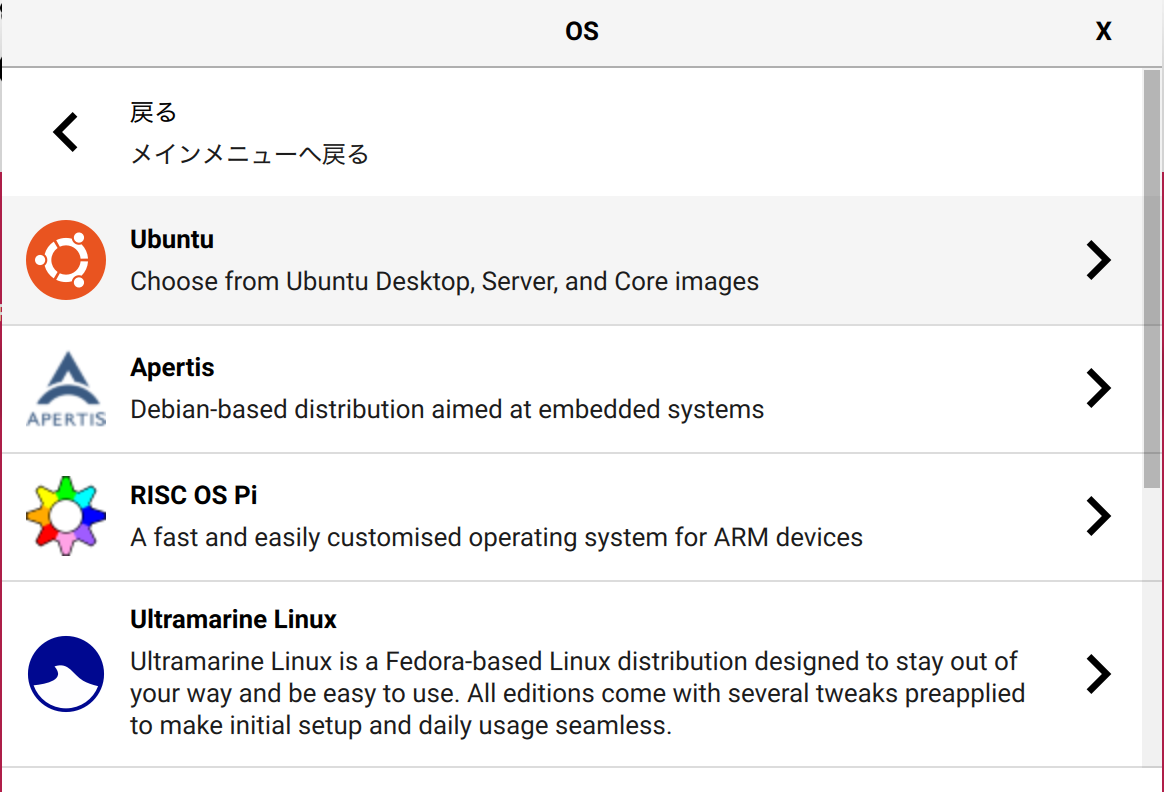
A list of various versions of Ubuntu, desktop environments, and server differences will be displayed, so please select "Ubuntu Desktop 24.04.2 LTS (64-bit)".
Return to the first screen and the selected Ubuntu will be displayed in the OS section. You are now ready to write to the microSD card. To write, click "Select Storage" and select the card reader/writer into which you inserted the microSD card. Once selected, return to the first screen and click the enabled "Next" button. Then, read the message carefully and select the button to write.